Home Assistant + Raspberry Pi Pico W

takeharak
ようやく国内で Raspberry Pi Pico W が発売されたので、簡易温度計として利用する
今回の環境
TL;DR
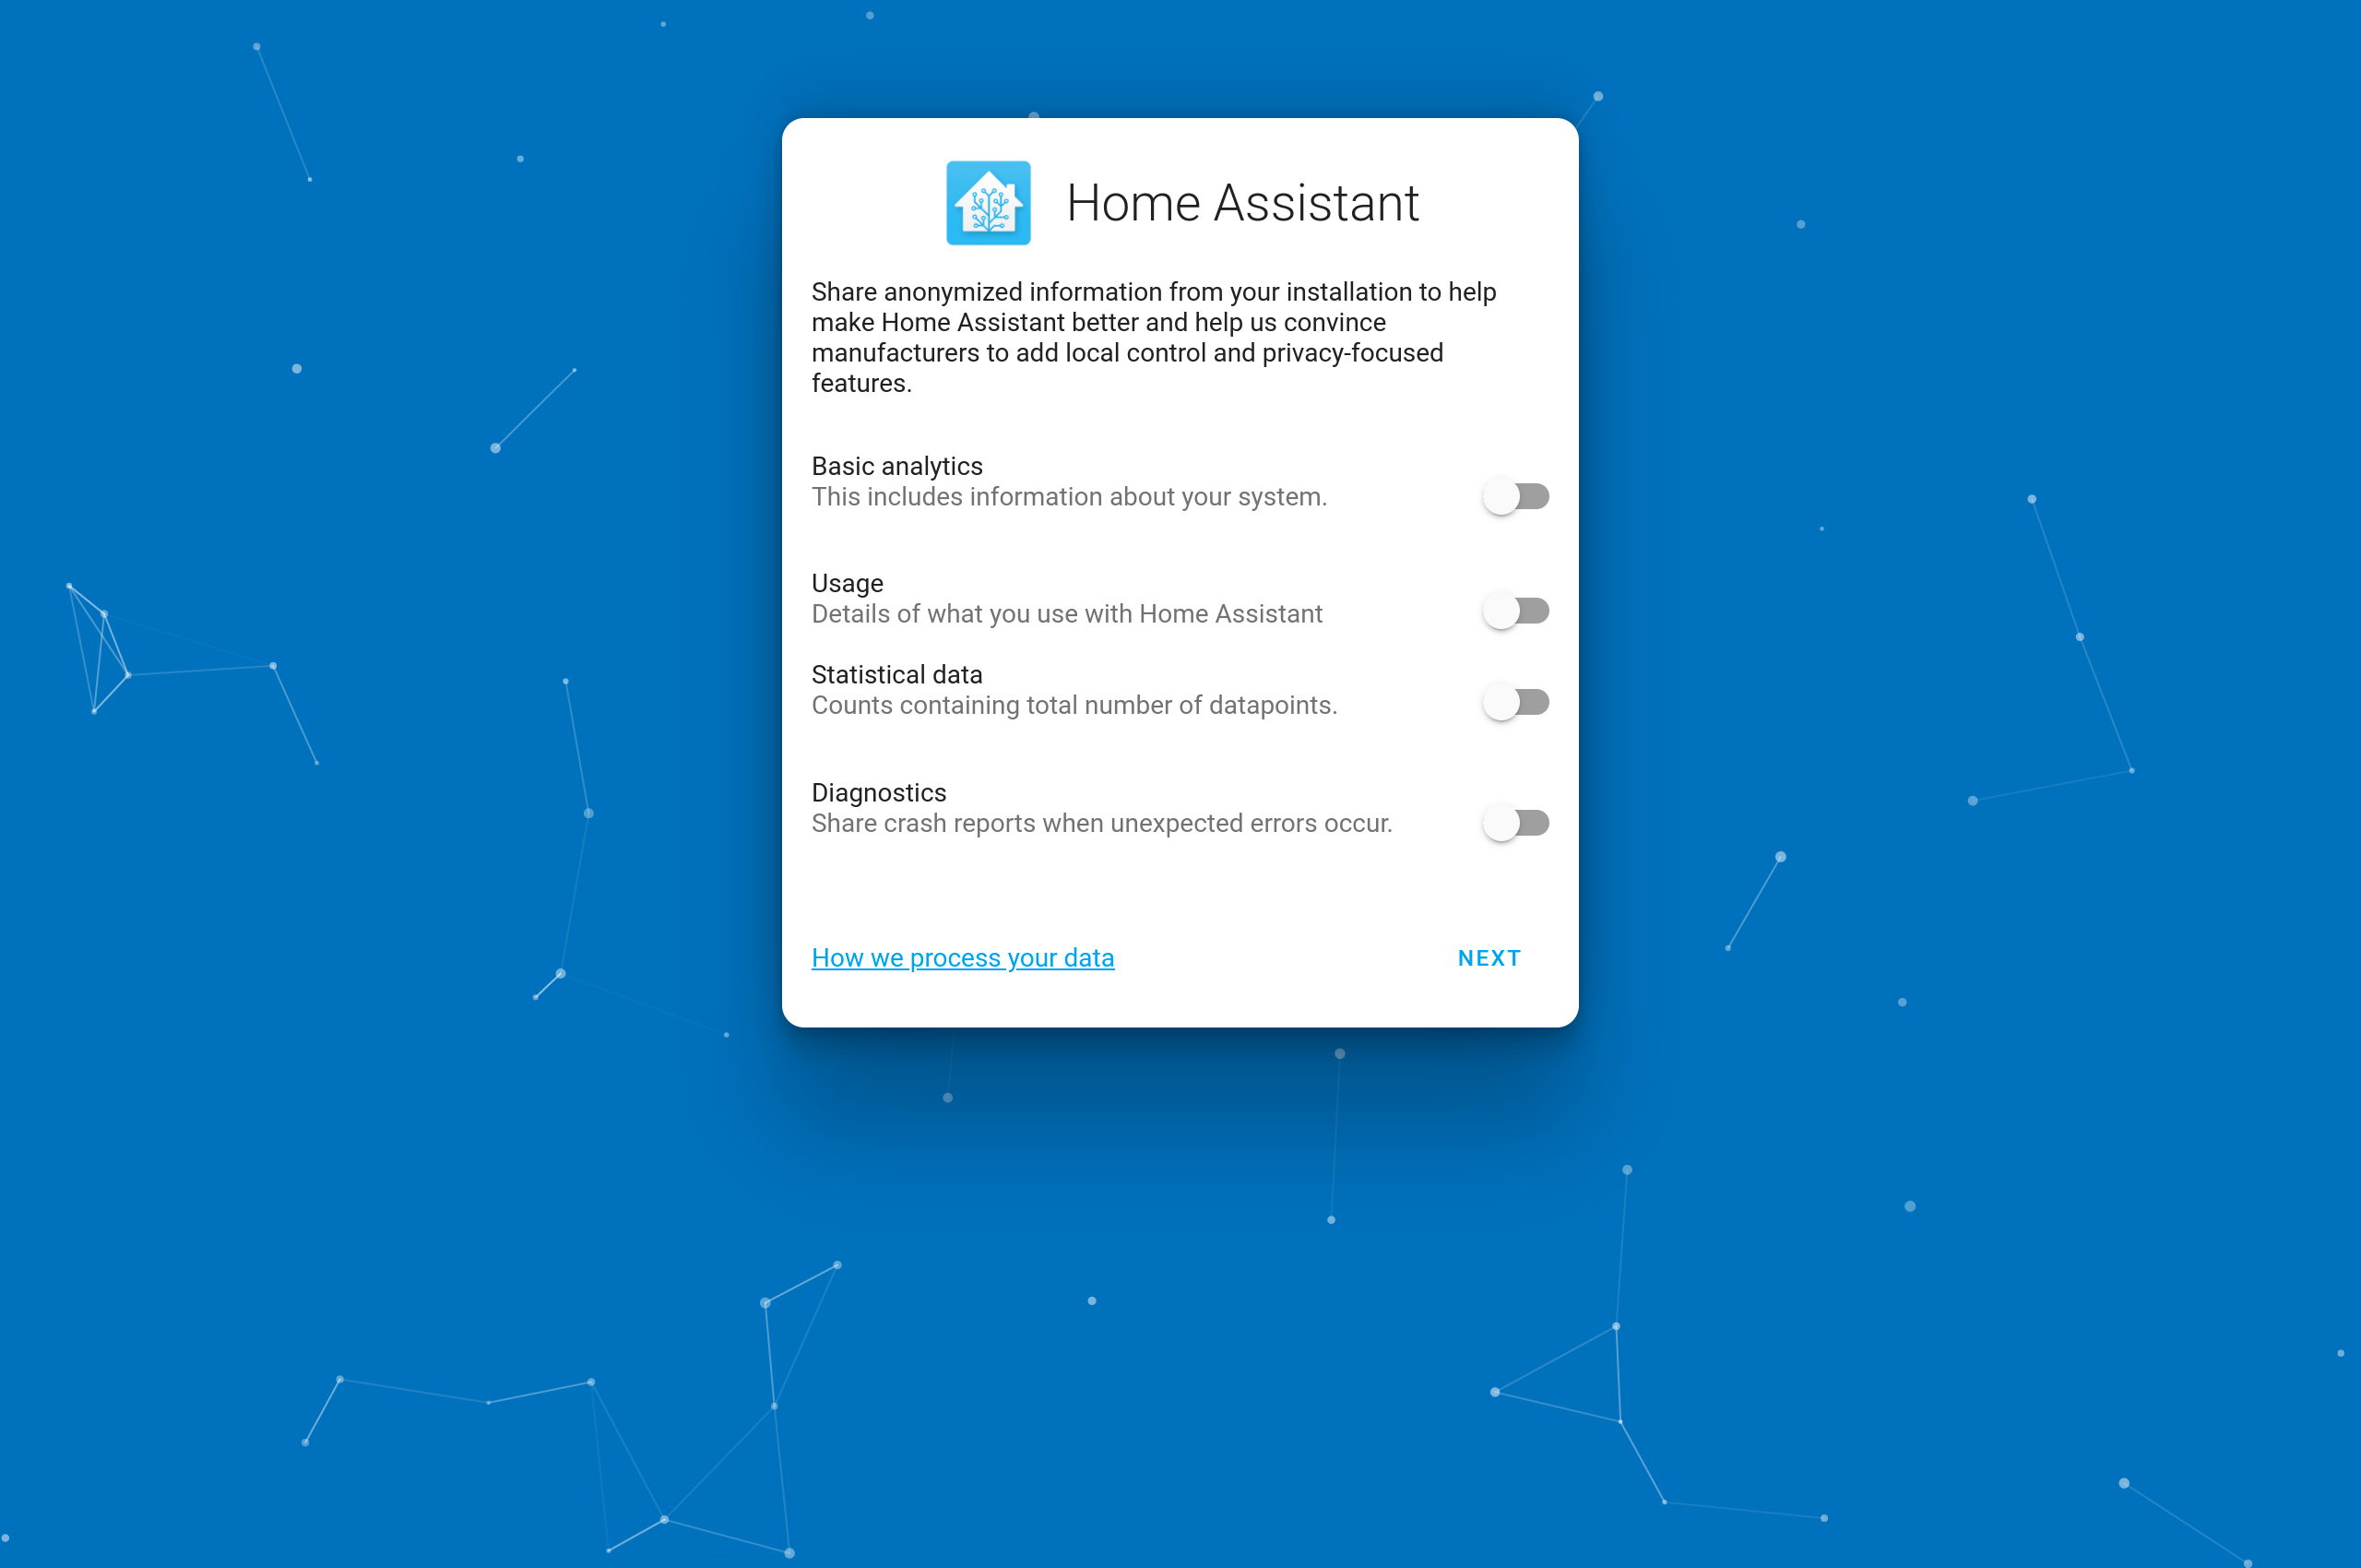
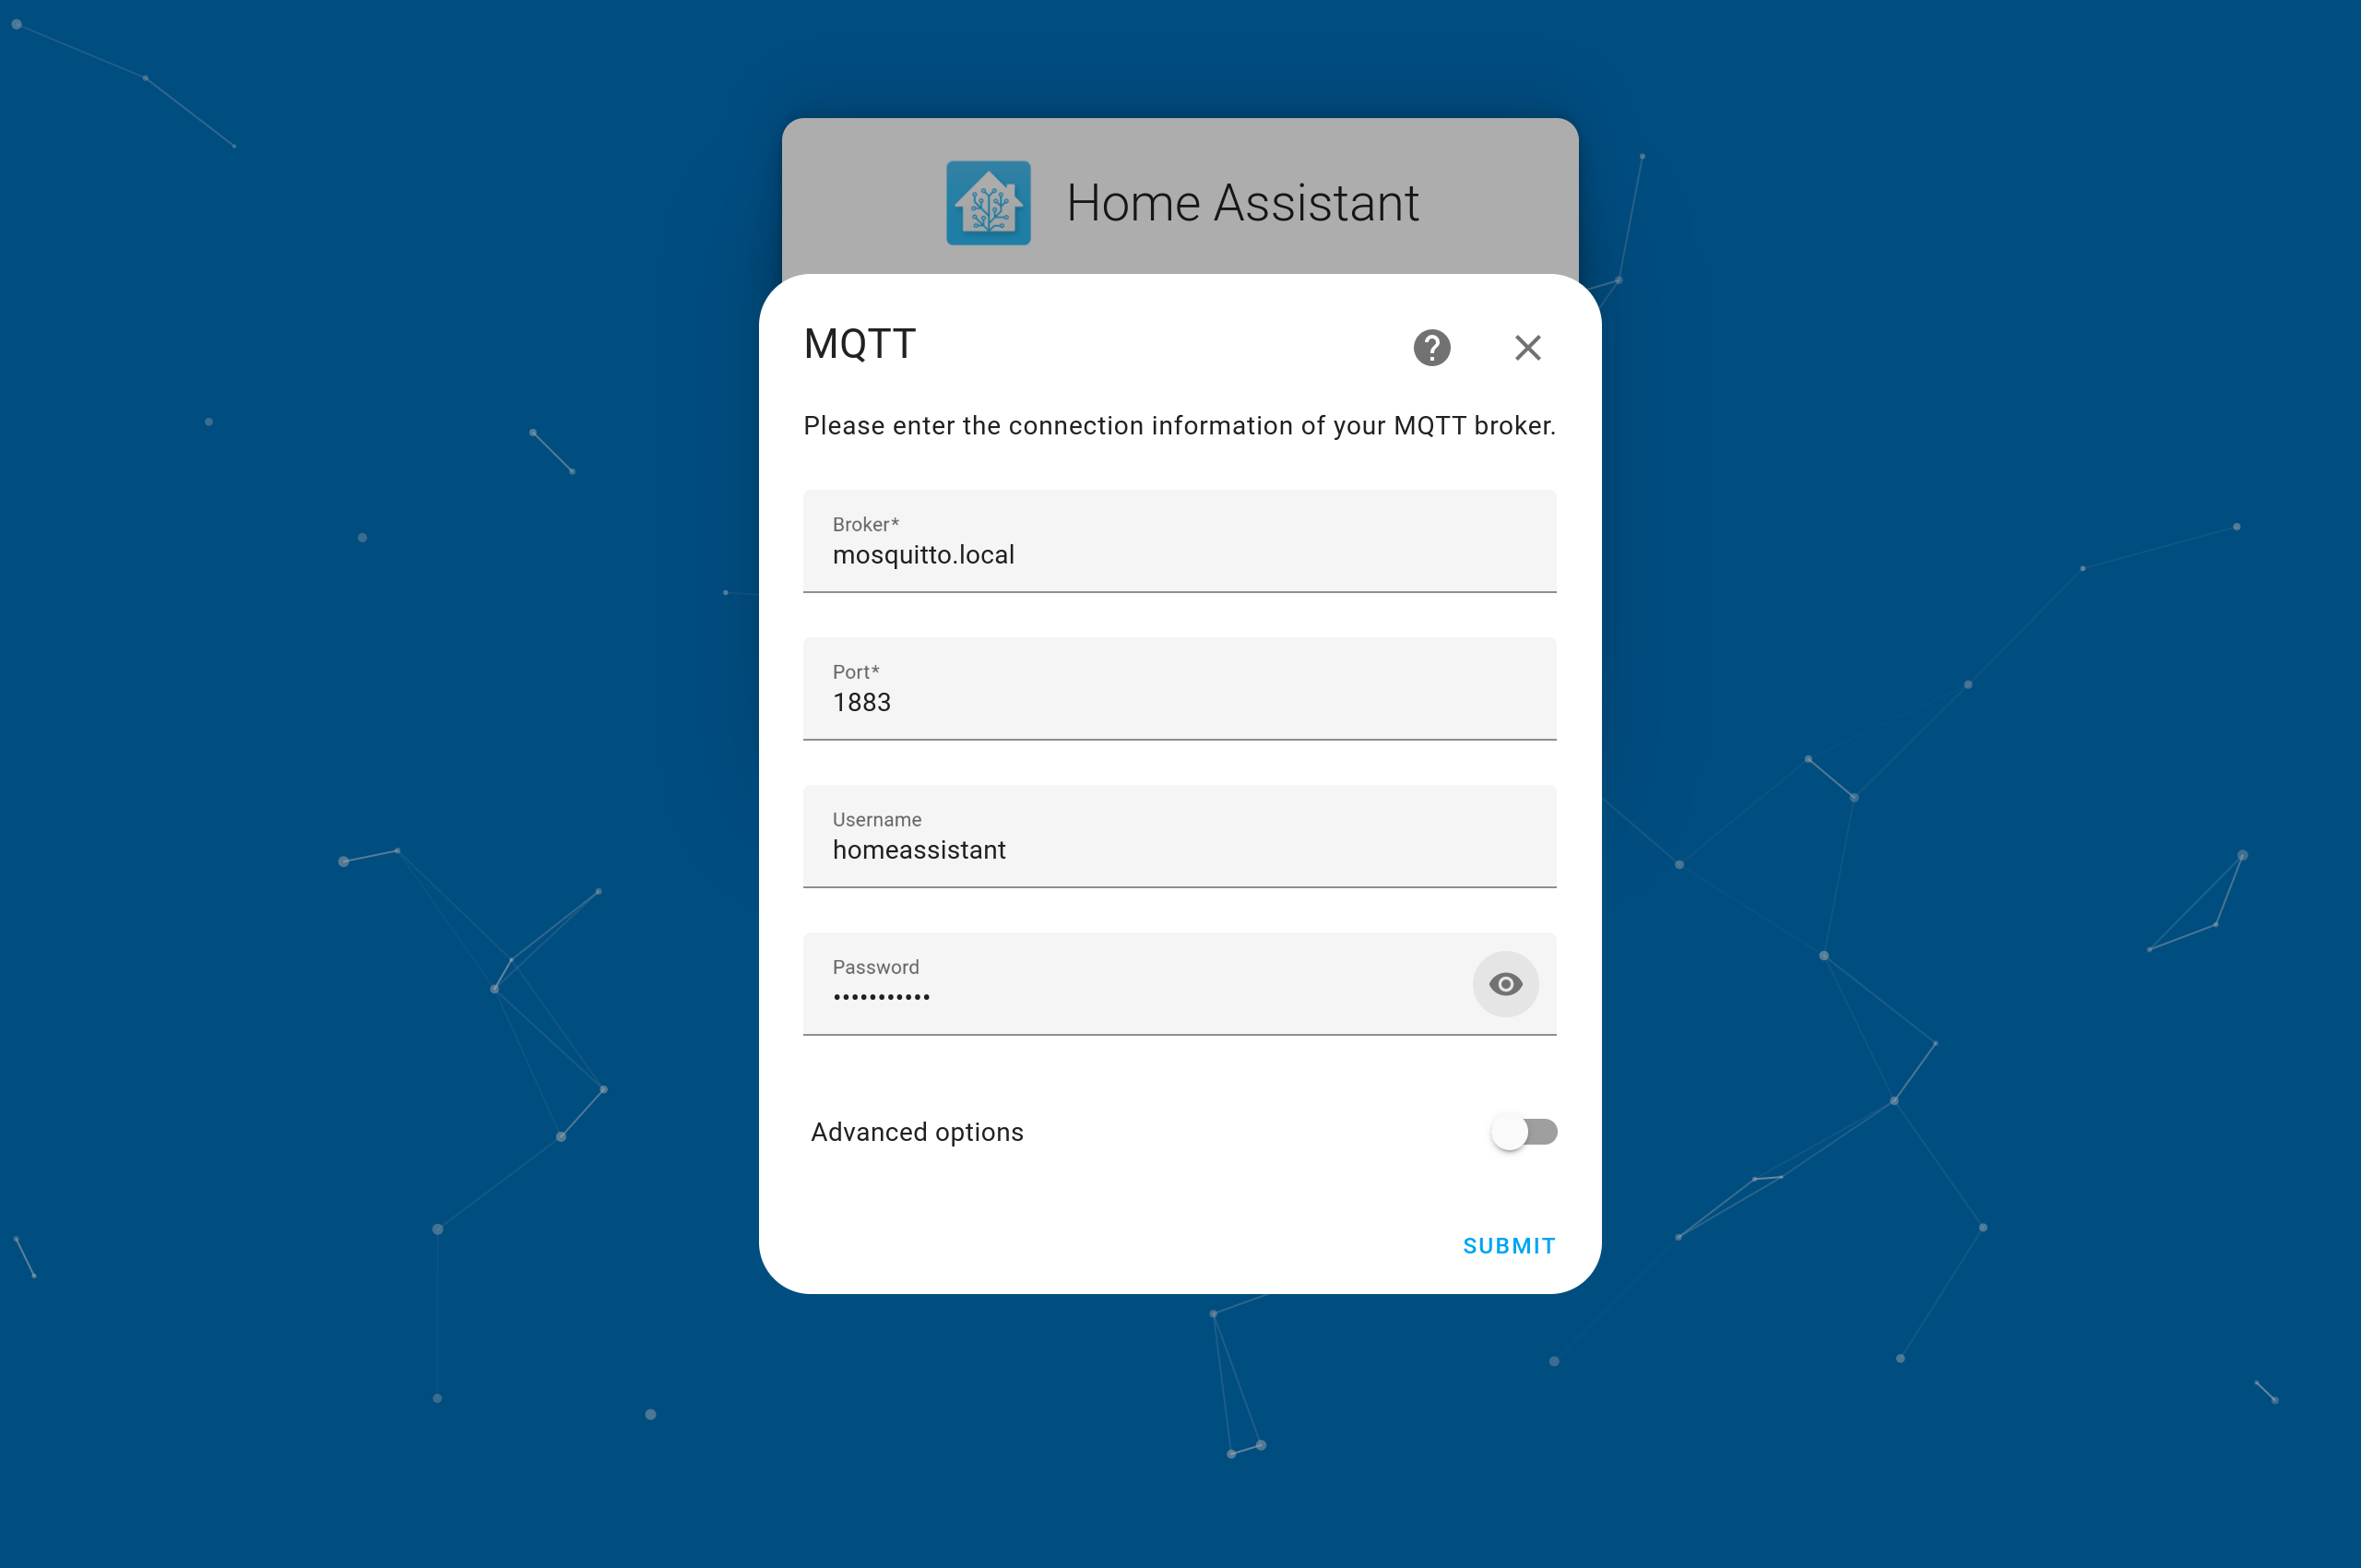
1. MQTT, Home Assistant の設定
  # docker-compose.yml
+ version: '3'
+ services:
+   homeassistant:
+     image: homeassistant/raspberrypi4-64-homeassistant
+     restart: unless-stopped
+     ports:
+       - "8123:8123/tcp"
+     volumes:
+       - ./homeassistant/config:/config
+       - ./homeassistant/shared:/shared
+       - /etc/localtime:/etc/localtime:ro
+   mosquitto:
+     image: eclipse-mosquitto
+     restart: unless-stopped
+     ports:
+       - "1883:1883/tcp"
+     volumes:
+       - ./mosquitto/config/mosquitto.conf:/mosquitto/config/mosquitto.conf
  # ./mosquitto/config/mosquitto.conf
+ # NOT RECOMMENDED FOR PRODUCTION USE
+ max_queued_messages 0
+ listener 1883 0.0.0.0
+ allow_anonymous true
docker compose up -d
open http://home-assistant.local:8123

2. Raspberry Pi Pico W の初期設定
Getting started with Raspberry Pi Pico 参照
3. Raspberry Pi Pico W にコード追加
  # /main.py
+ import network
+ from time import sleep
+ from picozero import pico_temp_sensor, pico_led
+ import machine
+ import ubinascii
+ from umqtt.simple import MQTTClient
+ import json
+
+ ssid = 'NAME OF YOUR WIFI NETWORK'
+ password = 'YOUR SECRET PASSWORD'
+
+ def blink():
+     pico_led.on()
+     sleep(0.5)
+     pico_led.off()
+     sleep(0.5)
+
+ def connect():
+     #Connect to WLAN
+     wlan = network.WLAN(network.STA_IF)
+     wlan.active(True)
+     wlan.connect(ssid, password)
+     while wlan.isconnected() == False:
+         print('Waiting for connection...')
+         sleep(1)
+     ip = wlan.ifconfig()[0]
+     print(f'Connected on {ip}')
+     return ip
+
+ client_id = ubinascii.hexlify(machine.unique_id()).decode('utf-8')
+ server = 'mosquitto.local'
+ topic= b'rpi/rp2'
+
+ def callback(topic, msg):
+     print("topic: " + topic.decode("utf-8"))
+     print("message: " + msg.decode("utf-8"))
+
+ client = MQTTClient(client_id, server, keepalive=3600)
+ client.set_callback(callback)
+
+ def setup():
+     try:
+         ip = connect()
+         client.connect()
+     except KeyboardInterrupt:
+         machine.reset()
+
+ def loop():
+     blink()
+     payload = { "temp": round(pico_temp_sensor.temp, 1) }
+     msg = json.dumps(payload)
+     client.publish(topic, msg)
+     client.check_msg()
+     print(msg)
+     sleep(4)
+
+ setup()
+ while True:
+     loop()
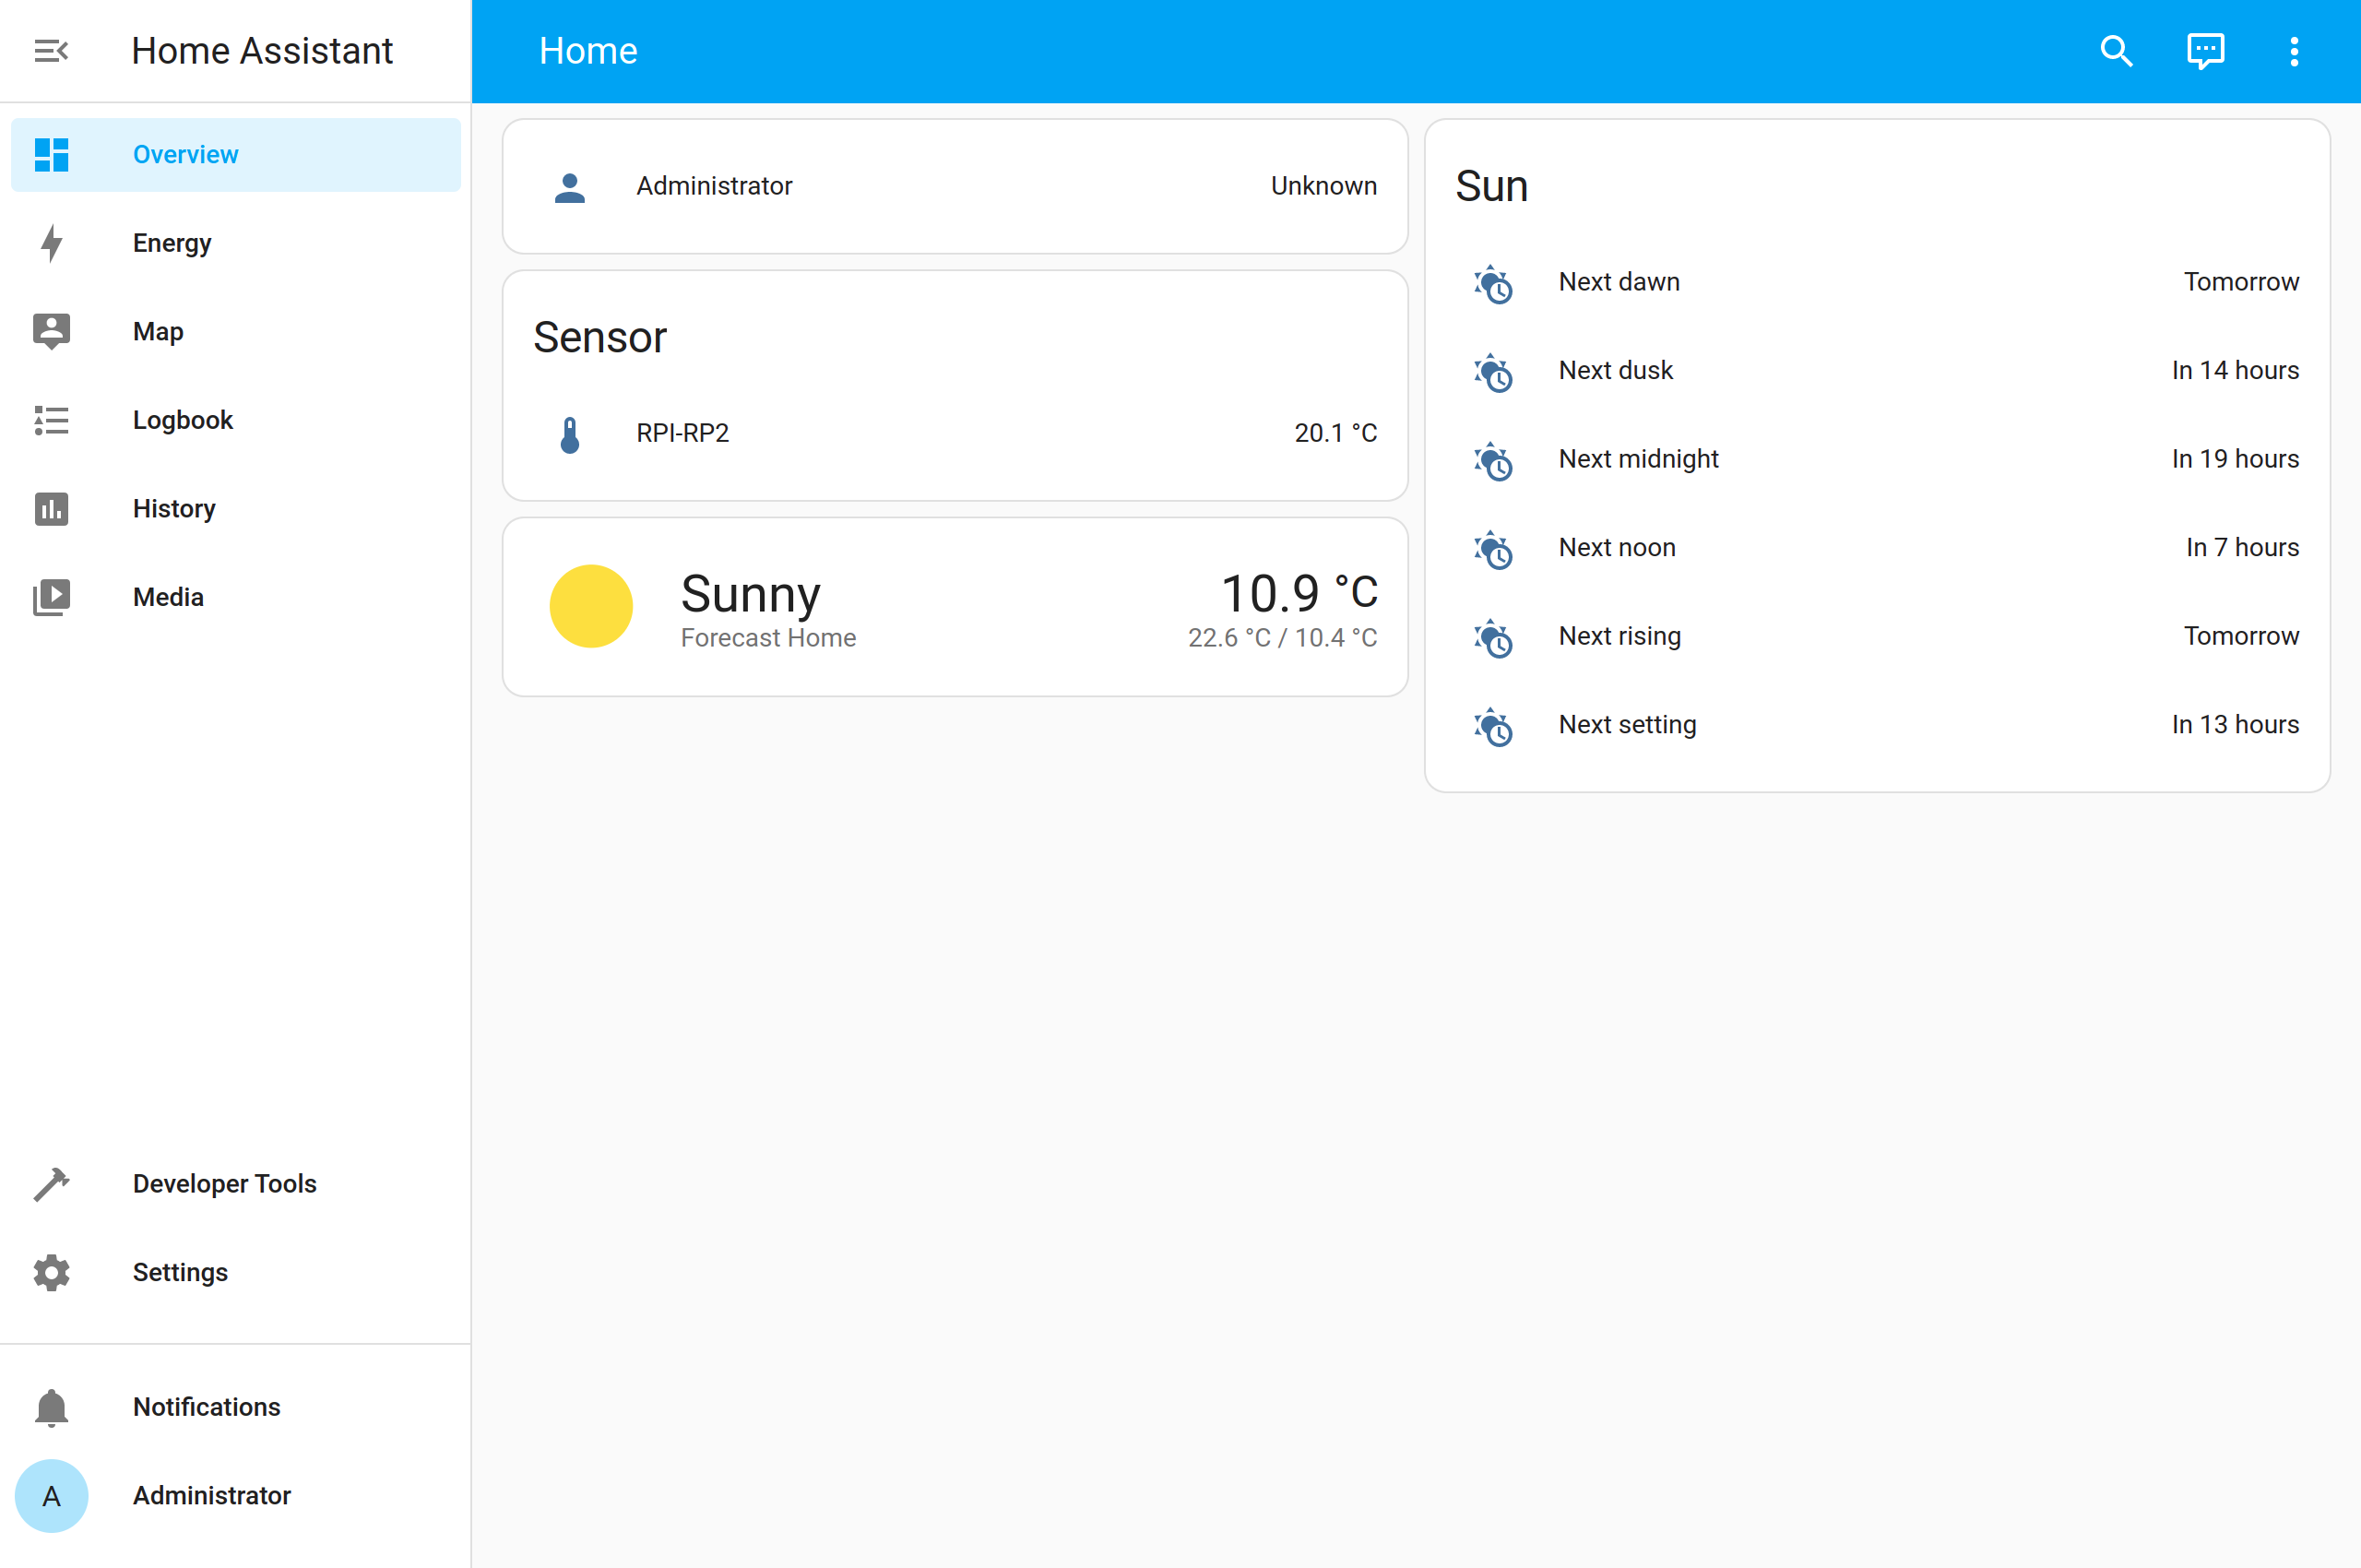
4. Home Assistant にデバイスを追加
  # ./homeassistant/config/configuration.yaml
  ...
  script: !include scripts.yaml
  scene: !include scenes.yaml
+ mqtt: !include mqtt.yaml
  # ./homeassistant/config/mqtt.yaml
+ sensor:
+   - name: RPI-RP2
+     device_class: temperature
+     state_class: measurement
+     state_topic: rpi/rp2
+     unit_of_measurement: °C
+     value_template: "{{ value_json.temp }}"
+
docker compose restart homeassistant
open http://home-assistant.local:8123
クリーンアップ