Raspberry Pi 4 + Jammy Jellyfish + k3s

takeharak
Jammy Jellyfish がリリースされて比較的簡単に k3s 環境が構築できる用になったので 3 ステップで構築する
今回の環境
TL;DR
1. ブートメディアの作成
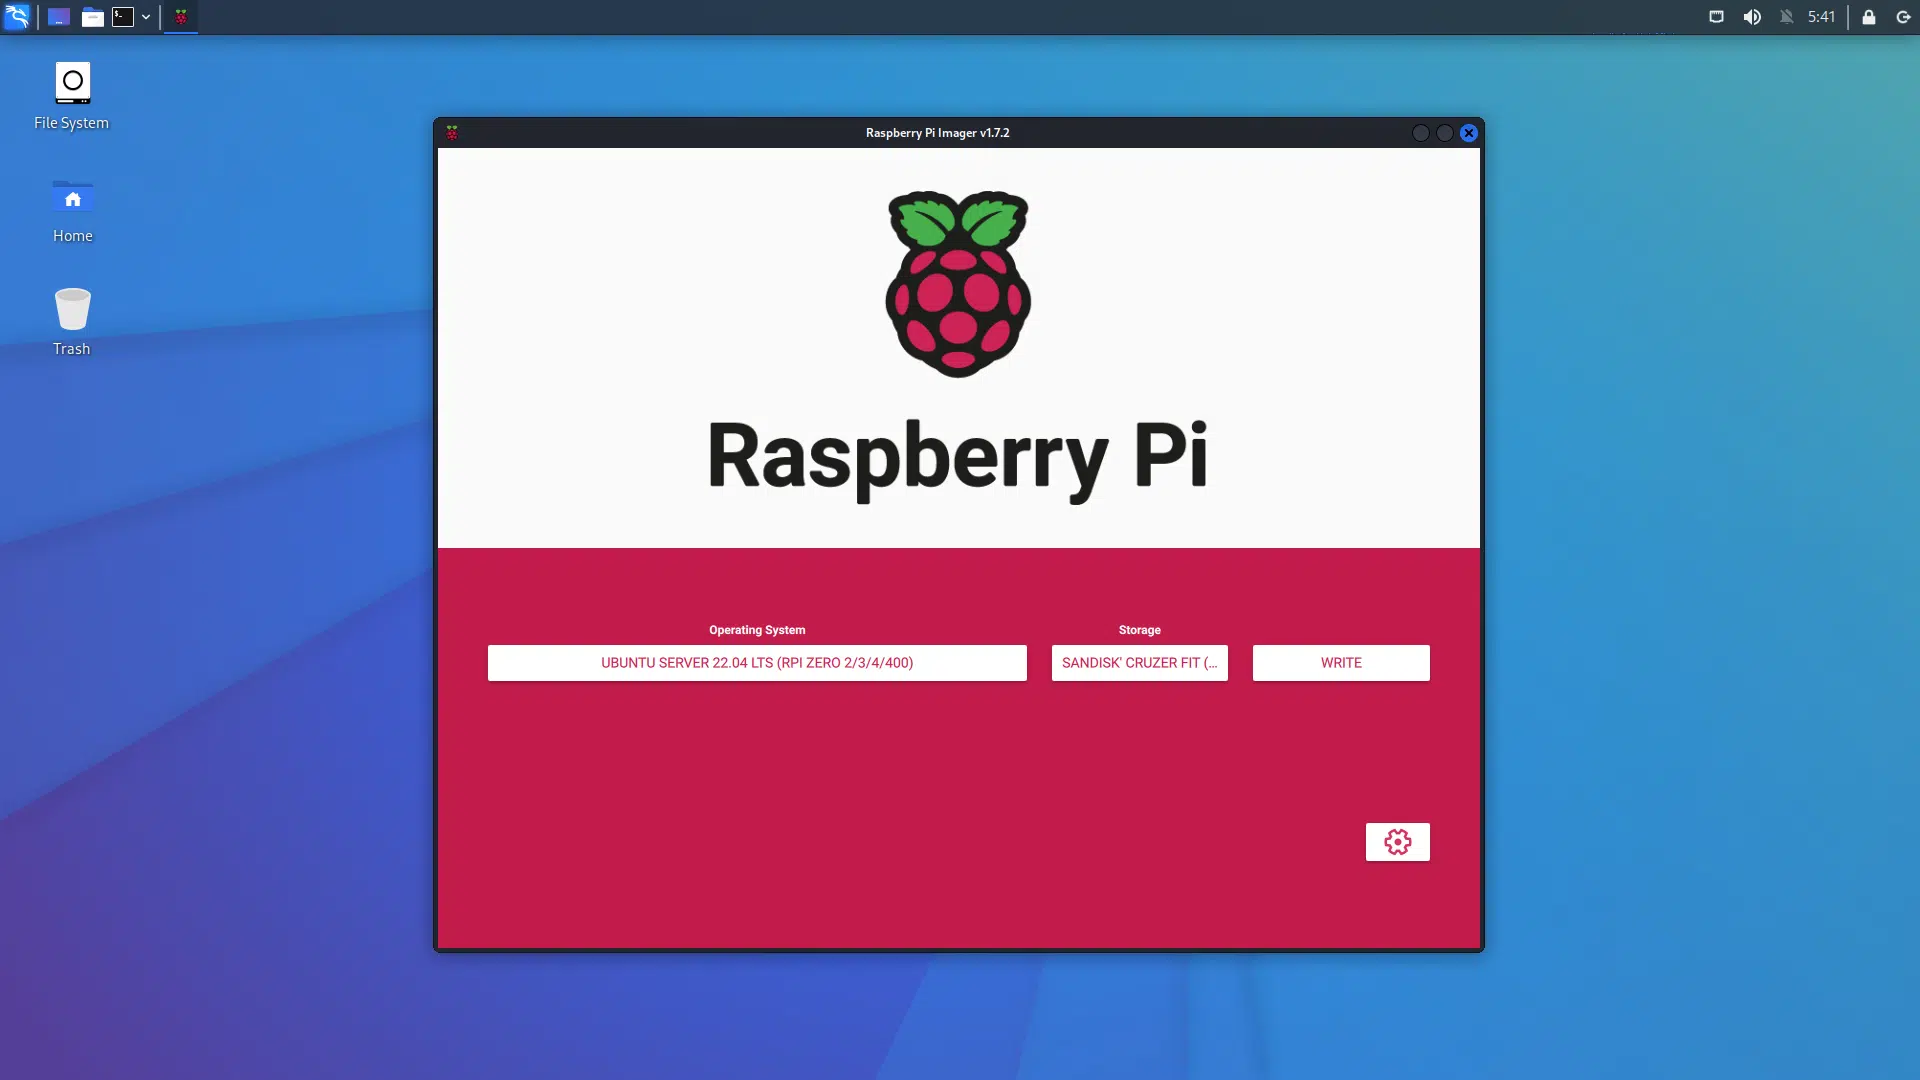
Raspberry Pi Imager のインストール
sudo apt install rpi-imager
UBUNTU SERVER 22.04 LTS, ストレージ を選択して書き込み開始

Cloud-init スクリプトを編鐘
  # /media/kali/system-boot/user-data
  ...

  # On first boot, set the (default) ubuntu user's password to "ubuntu" and
  # expire user passwords
  chpasswd:
    expire: true
    list:
    - ubuntu:ubuntu

+ system_info:
+   default_user:
+     sudo: ALL=(ALL) NOPASSWD:ALL

  ## Set the system's hostname. Please note that, unless you have a local DNS
  ## setup where the hostname is derived from DHCP requests (as with dnsmasq),
  ## setting the hostname here will not make the machine reachable by this name.
  ## You may also wish to install avahi-daemon (see the "packages:" key below)
  ## to make your machine reachable by the .local domain
- #hostname: ubuntu
+ hostname: k3s-master
+ locale: en_US.utf8
+ timezone: Asia/Tokyo

  ...

  ## Update apt database and upgrade packages on first boot
  #package_update: true
  #package_upgrade: true
+ package_reboot_if_required: true

  ## Install additional packages on first boot
- #packages:
- #- avahi-daemon
- #- rng-tools
- #- python3-gpiozero
- #- [python3-serial, 3.5-1]
+ packages:
+ - avahi-daemon
+ - linux-modules-extra-raspi

  ...

  ## Run arbitrary commands at rc.local like time
- #runcmd:
- #- [ ls, -l, / ]
- #- [ sh, -xc, "echo $(date) ': hello world!'" ]
- #- [ wget, "http://ubuntu.com", -O, /run/mydir/index.html ]
+ runcmd:
+ - export K3S_KUBECONFIG_MODE=644
+ - 'curl -sfL https://get.k3s.io | sh -'
2. Raspberry Pi 起動
ブートメディアを Raspberry Pi に挿して電源を入れる
珈琲を淹れて待つ
3. 疎通確認
ssh 接続 / パスワード変更
ssh ubuntu@k3s-master.local
Are you sure you want to continue connecting (yes/no/[fingerprint])? yes
You are required to change your password immediately (administrator enforced).
You must change your password now and login again!
Changing password for ubuntu.
Current password:
New password:
Retype new password:
passwd: password updated successfully
kubectl
kubectl get node
NAME             STATUS   ROLES                  AGE    VERSION
k3s-master       Ready    control-plane,master   9m    v1.23.8+k3s2
Hello World
kubectl run hello-world --image=hello-world --restart=Never
pod/hello-world created
kubectl logs pod/hello-world

Hello from Docker!
This message shows that your installation appears to be working correctly.

To generate this message, Docker took the following steps:
 1. The Docker client contacted the Docker daemon.
 2. The Docker daemon pulled the "hello-world" image from the Docker Hub.
    (arm64v8)
 3. The Docker daemon created a new container from that image which runs the
    executable that produces the output you are currently reading.
 4. The Docker daemon streamed that output to the Docker client, which sent it
    to your terminal.

To try something more ambitious, you can run an Ubuntu container with:
 $ docker run -it ubuntu bash

Share images, automate workflows, and more with a free Docker ID:
 https://hub.docker.com/

For more examples and ideas, visit:
 https://docs.docker.com/get-started/
クリーンアップ
kubectl delete pod/hello-world
pod "hello-world" deleted